As new parents, ensuring the safety and hygiene of your baby’s feeding equipment is paramount. Milk provides an ideal environment for bacteria to thrive. This highlights the importance of thoroughly cleaning and sterilizing any equipment that comes into contact with milk. Babies are particularly vulnerable to illnesses caused by germs in milk due to their developing immune systems. Their bodies may not be as capable at fighting off infections as older individuals.
To minimize the risk of your baby falling ill, it’s essential to consistently use sterilized bottles and clean equipment. Despite appearing clean, bottles and teats can still harbor harmful germs, underscoring the need for thorough sterilization. In this comprehensive guide, we’ll walk you through the essential tips and techniques to master bottle sterilization.
Thorough Cleaning: Preparing for Sterilization
Remember to wash all bottle parts, nipples, and caps after each use. If the bottles haven’t been used for 24 hours, it’s also important to sterilize them again. First, disassemble all parts of the bottle and remove the teat from its screw cap. When using bottles with additional parts, such as Dr. Brown’s, you might find it convenient to have a designated space or container for smaller parts. Then, using a dedicated bottle brush, thoroughly scrub the inside and outside of the bottle to remove any residue. Pay special attention to the teat, ensuring all remaining milk is removed from the hole. Utilize a smaller brush to clean inside the teat thoroughly.
Next, flush the teat with hot, soapy water, followed by a rinse with clean water to ensure complete cleansing. When washing the bottle, ensure to rinse away all detergent residue with warm running water until the water runs clear, eliminating any remaining traces of detergent. It’s advisable to opt for a mild-scented detergent to prevent the bottle from absorbing any lingering odors during the cleaning process.
Invest in Quality Materials: Choosing Safe Feeding Equipment
When purchasing feeding equipment, opt for food-grade BPA-free plastic or glass bottles. Prioritize sterilizing new bottles before use and regularly inspect for any signs of damage such as splits, scratches, or cracks, which can harbor bacteria.
Sterilization Methods
When it comes to sterilizing your baby’s feeding equipment, there are three primary methods you can utilize: boiling, steam sterilization, and chemical sterilization. Each method offers its own advantages and considerations to ensure the safety and cleanliness of your baby’s bottles and accessories.
Boiling Method: The boiling method is a straightforward and cost-effective way to sterilize your equipment, particularly if you only need to sterilize bottles occasionally. Here’s how to do it:
- Place all cleaned bottle parts, including teats, into a large saucepan.
- Add enough tap (or better, filtered) water to fully cover the equipment, ensuring there are no air bubbles.
- Bring the water to a boil and let it boil with the lid on for 5 minutes.
- Allow the feeding equipment to cool in the saucepan before removing and letting it air dry.
- Once sterilized, store the equipment in a clean container with a lid to maintain its cleanliness.
Steam Sterilization Method
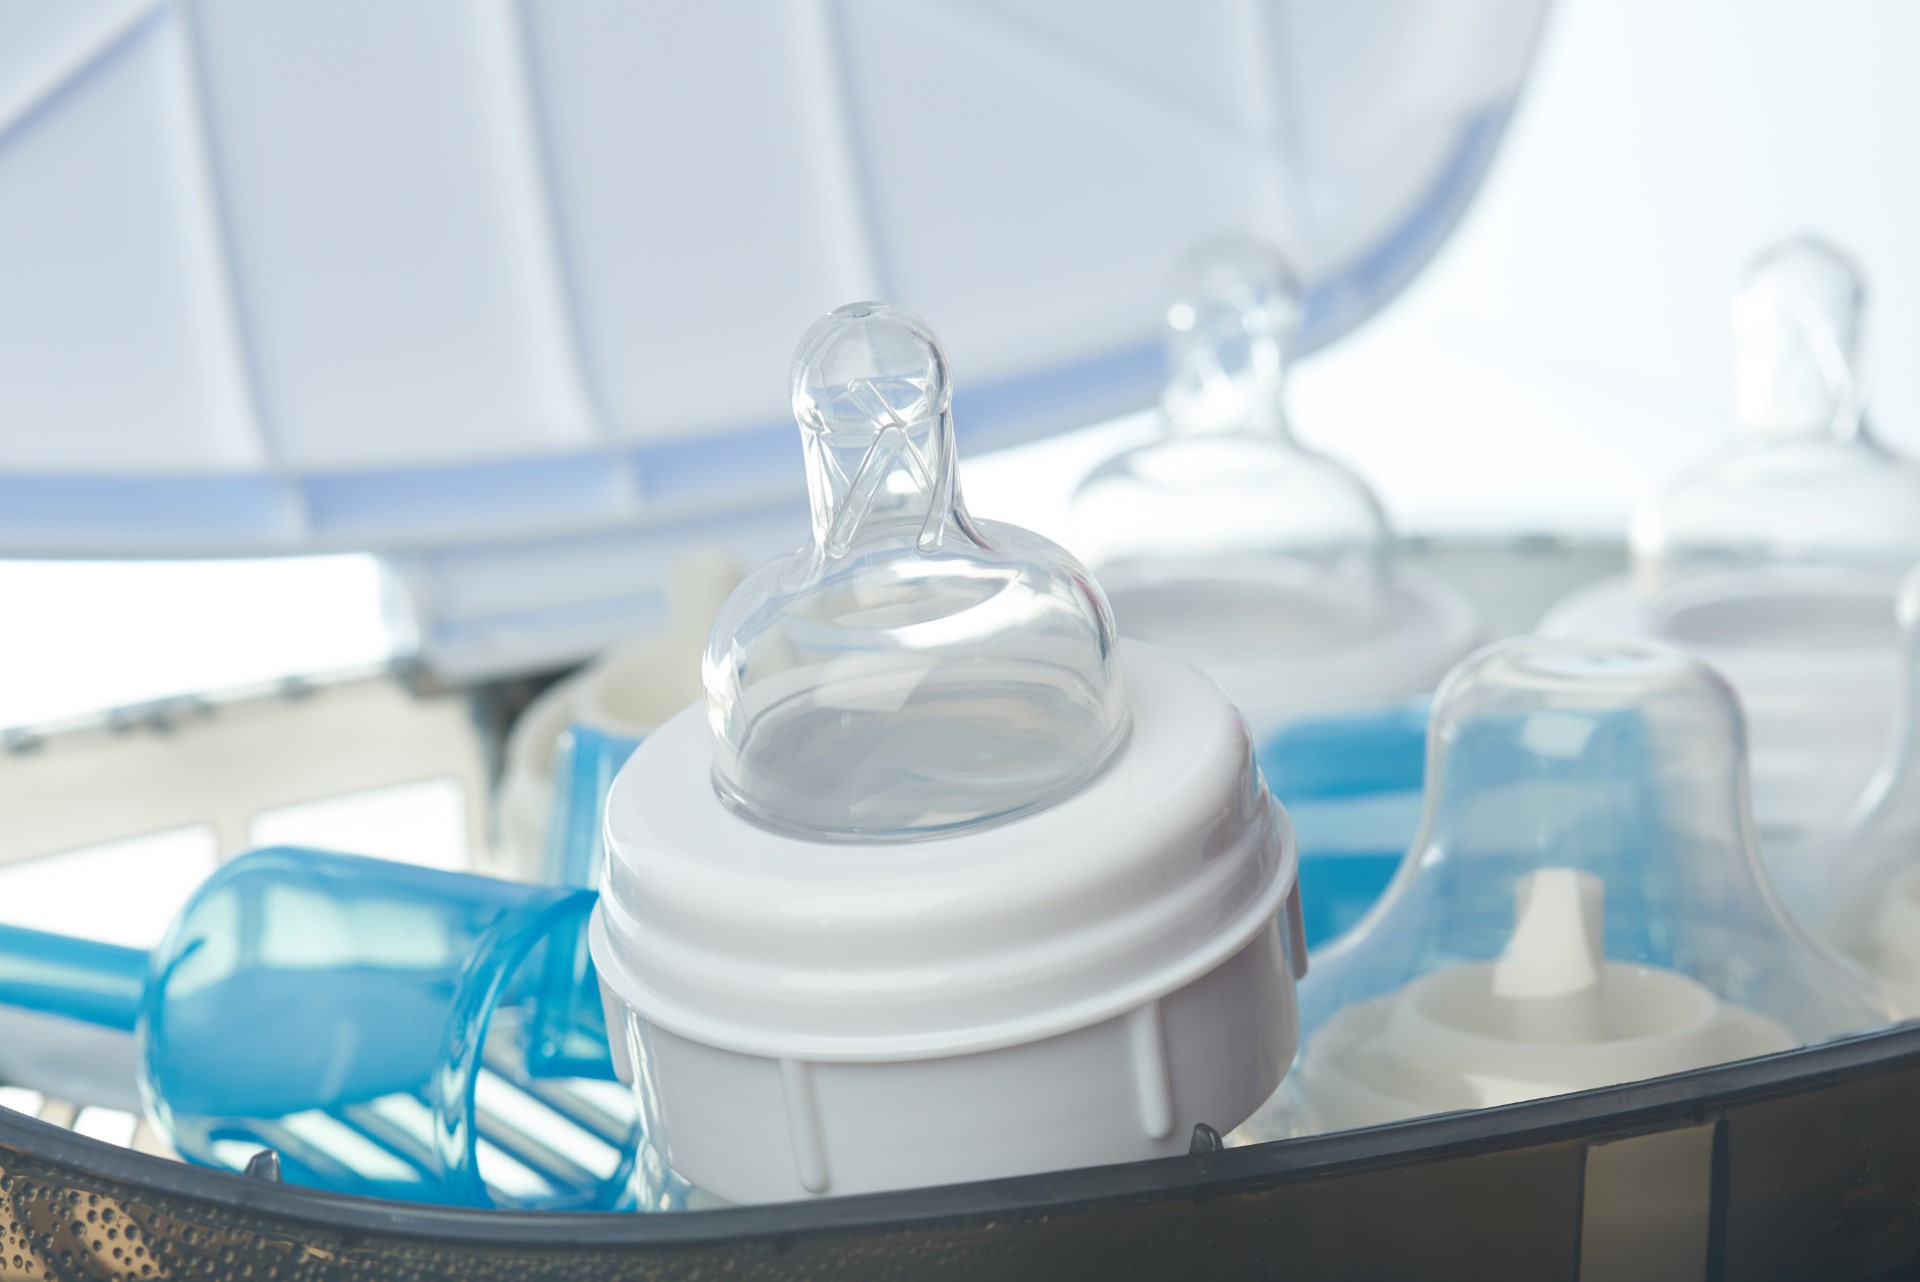
Steam sterilizers are popular for their speed and efficiency in killing bacteria. They heat water to boiling point, producing steam that effectively sterilizes the equipment. Here’s how to use a steam sterilizer:
- Place the clean bottles and feeding equipment in the sterilizer, ensuring there is enough space between each part for steam circulation.
- Follow the manufacturer’s instructions regarding the amount of water to add.
- If using a microwave sterilizer, place it in the microwave and set the appropriate time.
- you can either pat dry the equipment with a clean cloth specifically designated for this purpose or allow it to air dry. Store the sterilized equipment in a clean container with a lid to preserve its cleanliness. Certain sterilizers offer the option of heat drying, allowing you to store the bottles and parts directly in the sterilizer.
Chemical Sterilization Method
Chemical sterilization involves using antibacterial solutions, often containing bleach, to sterilize the equipment. Here’s how to use this method safely:
- Be cautious when handling chemical sterilization solutions and keep them out of reach of children.
- Prepare the sterilization solution according to the instructions on the container, ensuring proper dilution.
- Use a plastic or glass container large enough to hold all of the baby’s bottles and feeding equipment.
- Submerge the clean bottles and equipment in the solution, ensuring everything is fully covered.
- Leave the equipment in the solution for the recommended time, without the need for rinsing afterward.
- Dispose of the solution after 24 hours and wash the container before preparing a new batch to maintain hygiene.
By understanding and properly implementing these sterilization methods, you can ensure the safety and cleanliness of your baby’s feeding equipment, promoting their health and well-being.
Proper Drying: Ensuring Sterilized Items Remain Clean “After sterilization, use a clean, dry cloth to individually dry each item. Store sterilized bottles separately on a clean shelf or in an airtight container to prevent contamination from dust. Ensure items air-dry completely before storage to prevent mold and germ growth.”
Timing is Key: Maintaining Cleanliness Before Use “Remove bottles from the sterilizer just before feeding to maintain cleanliness. Keep the sterilizer covered with a lid until needed to prevent exposure to germs. Prioritize thorough handwashing or sanitization methods before handling sterilized bottles.”
Storage Practices: Maintaining Sterility
Avoid leaving sterilized bottles out for extended periods; instead, store them in sterilizers or dedicated storage facilities. If bottles are removed and left out for a long time, consider re-sterilization to maintain cleanliness.
Mastering Bottle Sterilization
By following these tips and techniques, you can master the art of bottle sterilization, ensuring the safety and well-being of your precious little one with each feeding. Stay diligent in your sterilization routine, and enjoy peace of mind knowing your baby’s feeding equipment is clean and hygienic.
If you’re uncertain about when to discontinue sterilizing baby bottles and pacifiers, it’s recommended to sterilize all bottles, pacifiers, and feeding equipment until your baby reaches 12 months of age. At this point, the AAP (American Academy of Pediatrics) suggests transitioning babies away from bottles and pacifiers and introducing them to sippy cups, which can be cleaned using dishwashers or hot water and soap. It’s recommended to sterilize sippy cups, including their valves and straws, before first use and whenever there’s visible residue in the cup or its parts.
